Installation#
NEBULA is a modular, adaptable and extensible platform for creating centralized and decentralized architectures using Federated Learning. Also, the platform enables the creation of a standard approach for developing, deploying, and managing federated learning applications.
The platform enables developers to create distributed applications that use federated learning algorithms to improve user experience, security, and privacy. It provides features for managing data, managing models, and managing federated learning processes. It also provides a comprehensive set of tools to help developers monitor and analyze the performance of their applications.
Prerequisites#
Python 3.8 or higher (3.11 recommended)
pip3
Docker Engine 24.0.4 or higher (24.0.7 recommended, https://docs.docker.com/engine/install/)
Docker Compose 2.19.0 or higher (2.19.1 recommended, https://docs.docker.com/compose/install/)
For using NVIDIA GPUs, NVIDIA driver version >=525.60.13 (Linux) >=528.33 (Windows), and CUDA 12.1 (mandatory). For more information, see https://docs.nvidia.com/cuda/cuda-installation-guide-microsoft-windows/index.html (Windows) or https://docs.nvidia.com/cuda/cuda-installation-guide-linux/index.html (Linux)
Deploy a virtual environment#
Virtualenv is a tool to build isolated Python environments.
It’s a great way to quickly test new libraries without cluttering your global site-packages or run multiple projects on the same machine which depend on a particular library but not the same version of the library.
Since Python version 3.3, there is also a module in the standard library called venv with roughly the same functionality.
Create virtual environment#
In order to create a virtual environment called e.g. nebula using venv, run:
$ python3 -m venv nebula-venv
Activate the environment#
Once the environment is created, you need to activate it. Just change directory into it and source the script Scripts/activate or bin/activate.
With bash:
$ cd nebula-venv
$ . Scripts/activate
(nebula-venv) $
With csh/tcsh:
$ cd nebula-venv
$ source Scripts/activate
(nebula-venv) $
Notice that the prompt changes once you are activate the environment. To deactivate it just type deactivate:
(nebula-venv) $ deactivate
$
After you have created the environment, you can install nebula following the instructions below.
Building from source#
Obtaining the platform#
You can obtain the source code from enriquetomasmb/nebula
Or, if you happen to have git configured, you can clone the repository:
git clone https://github.com/enriquetomasmb/nebula.git
Now, you can move to the source directory:
cd nebula
Dependencies#
NEBULA requires the additional packages in order to be able to be installed and work properly.
You can install them using pip:
pip3 install -r requirements.txt
Checking the installation#
Once the installation is finished, you can check by listing the version of the NEBULA with the following command line:
python app/main.py --version
Building the nebula node#
There are two ways to deploy the node in the federation: using Docker containers or isolated processes. You can choose the one that best fits your needs in the frontend.
1. Using Docker containers#
You need to build the docker image using the following command line in the root directory:
docker build -t nebula-core .
In case of using GPU in the docker, you have to follow the instructions in the following link to install nvidia-container-toolkit:
https://docs.nvidia.com/datacenter/cloud-native/container-toolkit/install-guide.html
You can check the docker images using the following command line:
docker images
2. Using isolated processes#
You need to install the requirements of the node (core) using the following command line in the root directory:
pip3 install -r nebula/requirements.txt
Running NEBULA#
To run NEBULA, you can use the following command line:
python app/main.py [PARAMS]
The first time you run the platform, the nebula-frontend docker image will be built. This process can take a few minutes.
You can show the PARAMS using:
python app/main.py --help
The frontend will be available at http://127.0.0.1:6060 (by default)
To change the default port of the frontend, you can use the following command line:
python app/main.py --webport [PORT]
To change the default port of the statistics endpoint, you can use the following command line:
python app/main.py --statsport [PORT]
NEBULA Frontend#
You can login with the following credentials:
- User: admin
- Password: admin
If not working the default credentials, send an email to Enrique Tomás Martínez Beltrán to get the credentials.
Stop NEBULA#
To stop NEBULA, you can use the following command line:
python app/main.py --stop
Be careful, this command will stop all the containers related to NEBULA: frontend, controller, and nodes.
Possible issues during the installation or execution#
If frontend is not working, check the logs in app/logs/server.log
If any of the following errors appear, take a look at the docker logs of the nebula-frontend container:
docker logs nebula-frontend
Network nebula_X Error failed to create network nebula_X: Error response from daemon: Pool overlaps with other one on this address space
Solution: Delete the docker network nebula_X
docker network rm nebula_X
Error: Cannot connect to the Docker daemon at unix:///var/run/docker.sock. Is the docker daemon running?
Solution: Start the docker daemon
sudo dockerd
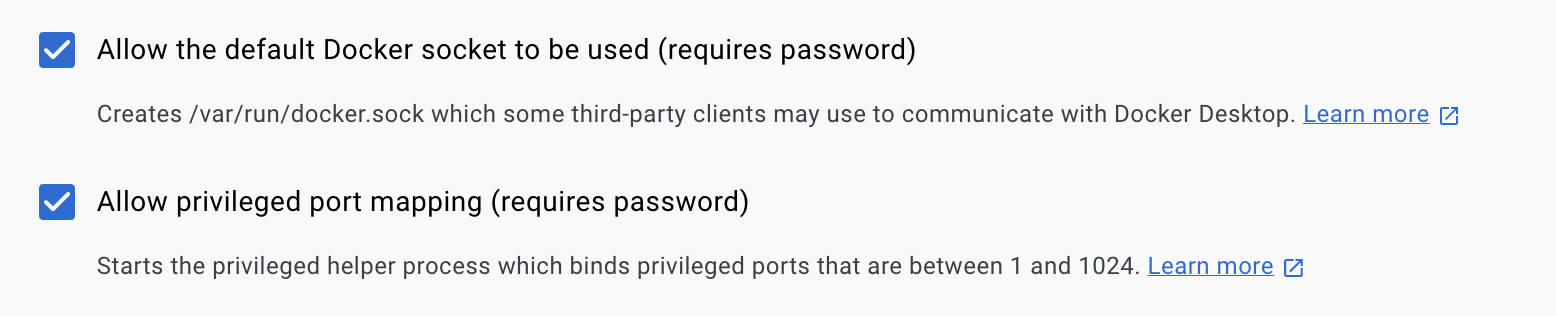
Solution: Enable the following option in Docker Desktop
Settings -> Advanced -> Allow the default Docker socket to be used
Error: Cannot connect to the Docker daemon at tcp://X.X.X.X:2375. Is the docker daemon running?
Solution: Start the docker daemon
sudo dockerd -H tcp://X.X.X.X:2375
If frontend is not working, restart docker daemon
sudo systemctl restart docker
Error: Too many open files
Solution: Increase the number of open files
ulimit -n 65536
Also, you can add the following lines to the file /etc/security/limits.conf
soft nofile 65536
hard nofile 65536